How To Style Emails - 5 Top Tips For Visual Consistency

Fabio Santos
Styling emails is not as simple as it may first seem…
Each email client renders HTML and CSS differently, and supports a unique mixture of web features. More web-based email clients (Gmail, Yahoo, etc.) handle modern styles fairly well. The real problems come from desktop clients - particularly from the widely used Outlook Desktop, which has a variety of versions.
To combat this, here are 5 of my top tips on how to style your emails so they work well in any email client:
1️⃣ Helpful Resources
When designing emails, it’s important to be equipped with the right tools…
There are many websites out there to help you build bulletproof emails, but 3 that I keep coming back to are:
- campaignmonitor.com - To check which email clients are compatible with the CSS attribute you want to use.
- caniemail.com - Much like caniuse.com, but focused on email clients. Very useful for working out feature coverage.
- litmus.com - To generate real screenshots of your email, rendered in a variety of different clients.
2️⃣ Laying Out the Layout
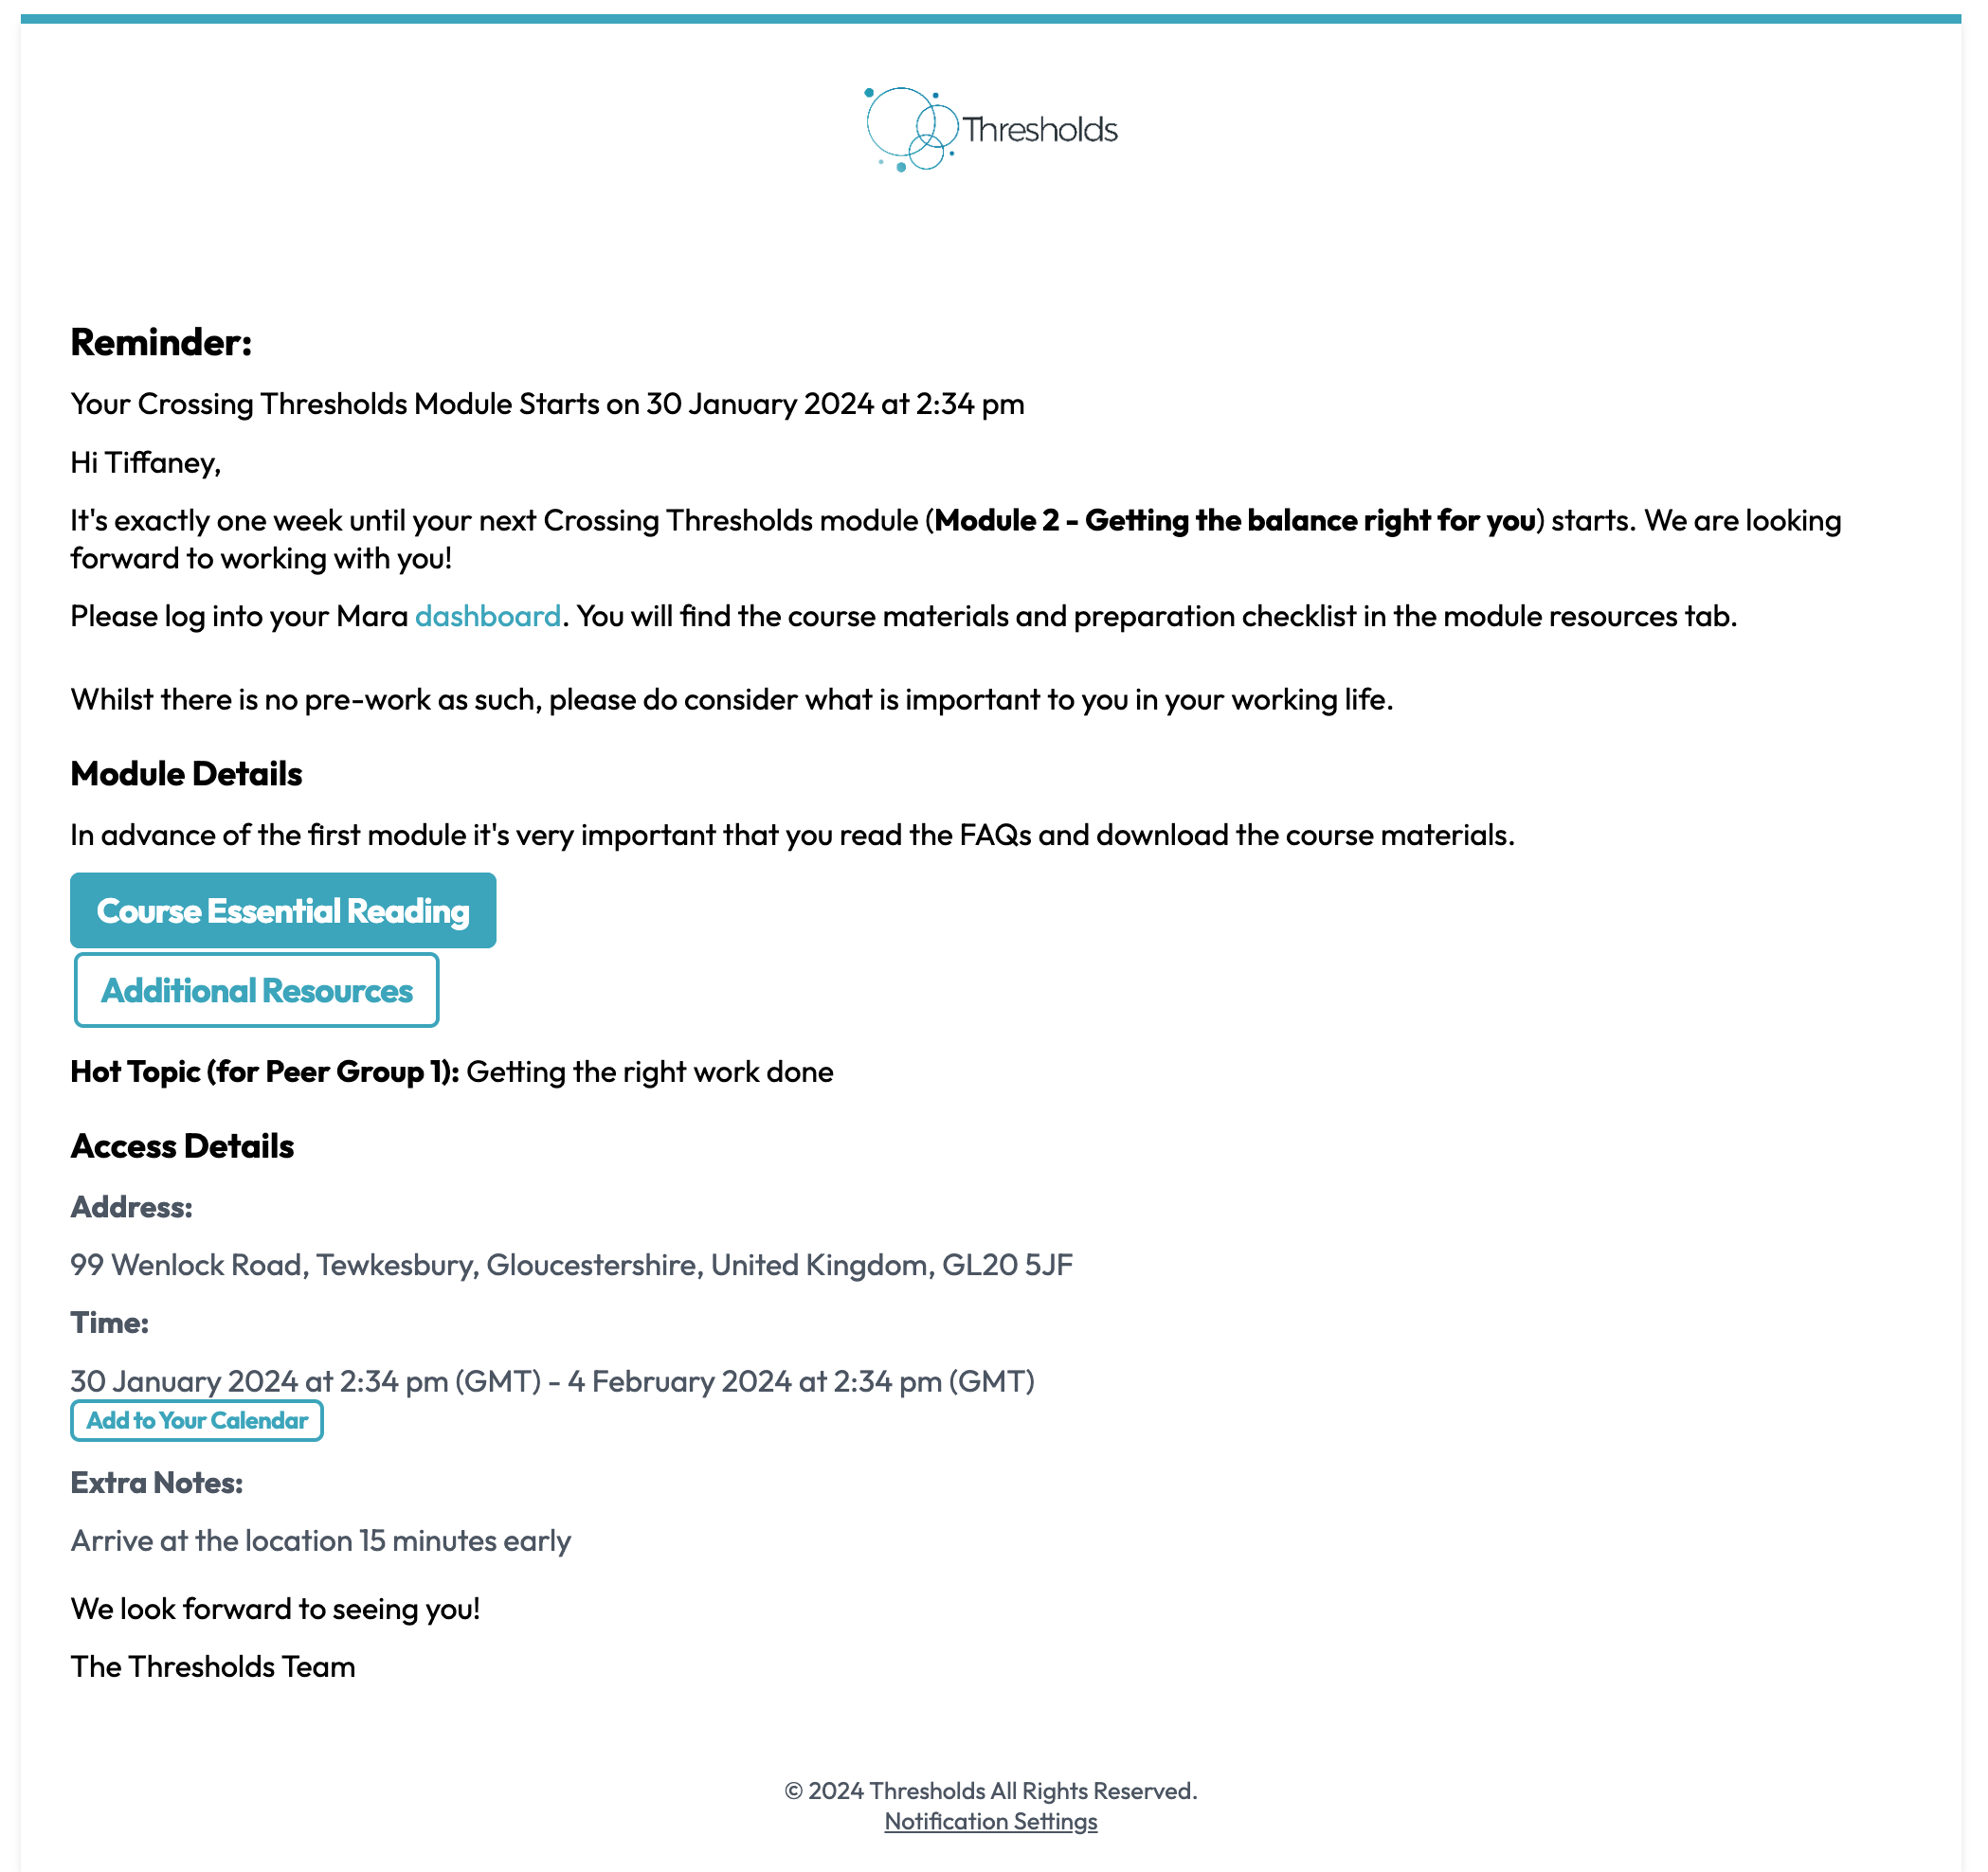
Wrapping your emails in a table layout helps with responsive design and rendering consistency across different email clients, without the need for complex CSS.
Here's a comparison showing the way the same email looks in Outlook with and without using a table layout:
| Without Table Layout 👎 | With Table Layout 👍 |
|---|---|
 |  |
Here's an example HTML layout to get you started:
3️⃣ Tabling Your Font
When using a table, Outlook has a tendency to overwrite your font styles. To mitigate this, you need to re-set the desired font every time you set a new table tag; even if these tables are nested, you will need to set the desired font on the last one.
Here's a side-by-side comparison to show how beneficial re-setting the fonts in this way can be for the overall look of your email:
| Without Font-Setting 👎 | With Font-Setting 👍 | :-----------:|:-----------: 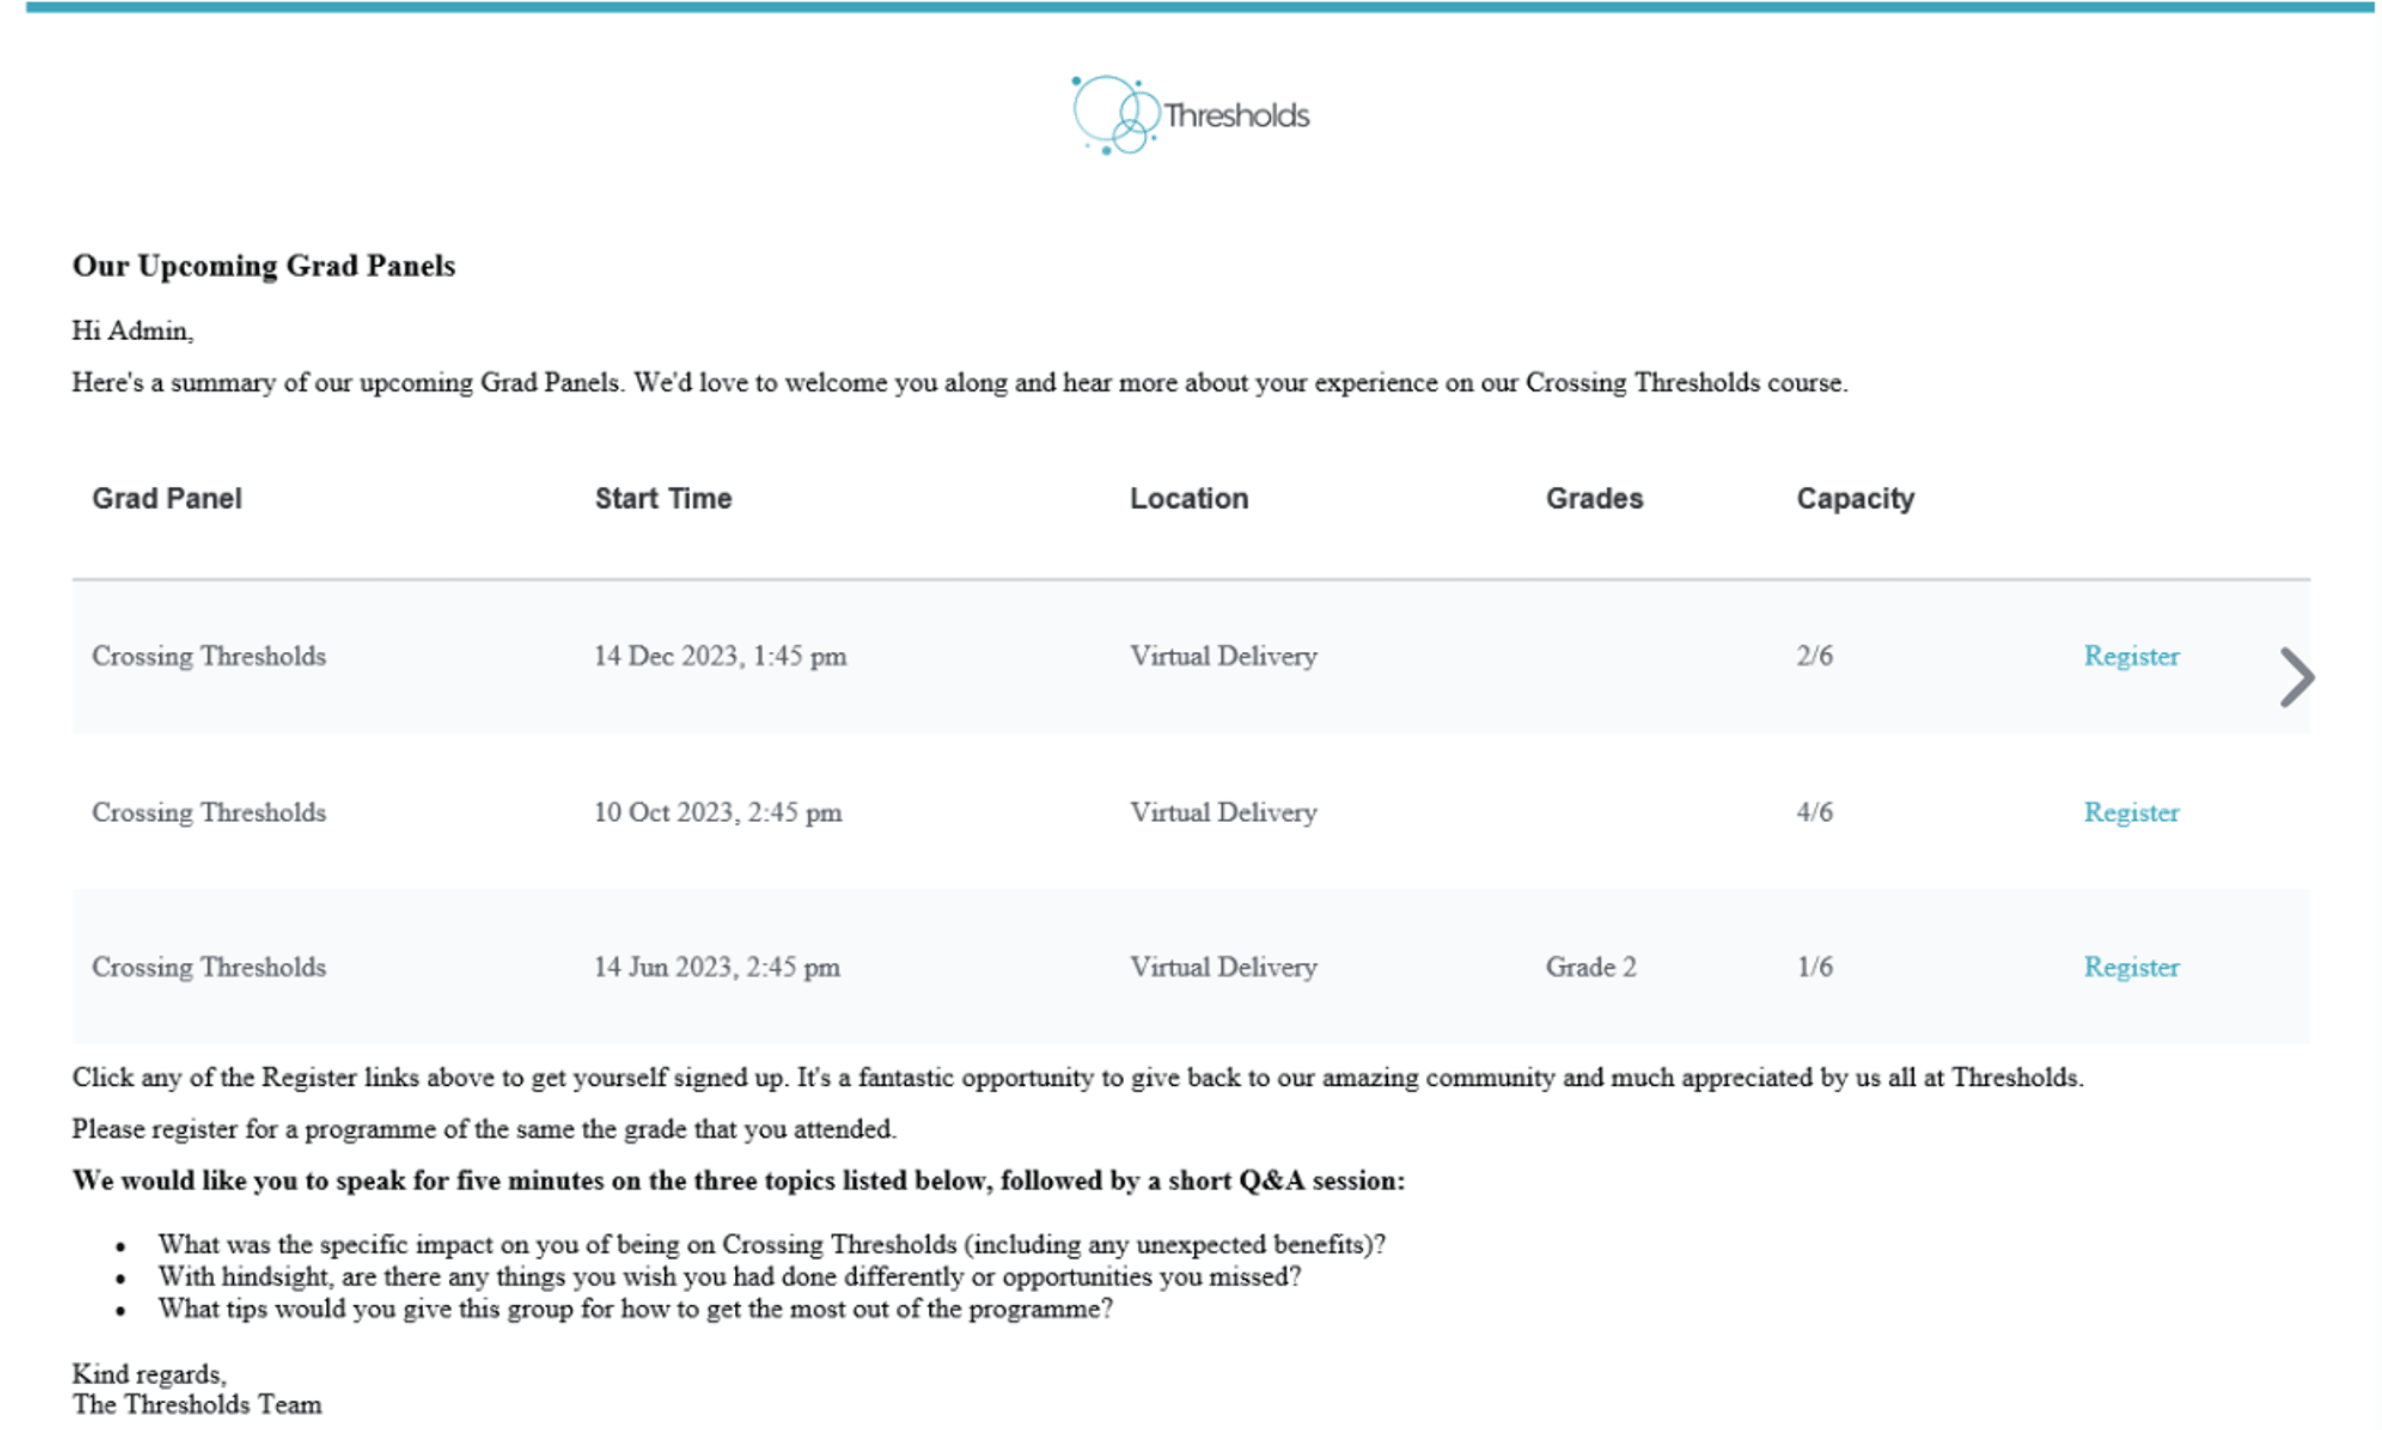 |
| 
And here's some super simple HTML code to help you do this:
4️⃣ Watch Out for Buttons
Buttons won’t always render as you might expect… In Outlook, it can be tricky. Background colour, as you can see in the ‘Before’ screenshot below, has an especially adverse appearance by default in Outlook.
| Before 👎 | After 👍 | :-----------:|:-----------:  |
| 
To restore your button’s appearance - à la the ‘After’ screenshot - there is a workaround…
You can set your button in a table, and add the background colour to the button’s parent . If using an , you'll also want to ensure they have display: block; set on their class.
Note: Outlook doesn't support rounded corners.
My Button
Note: Similarly to the previous tip, the desired font needs to be set again on button classes.
5️⃣ Tables (... again)
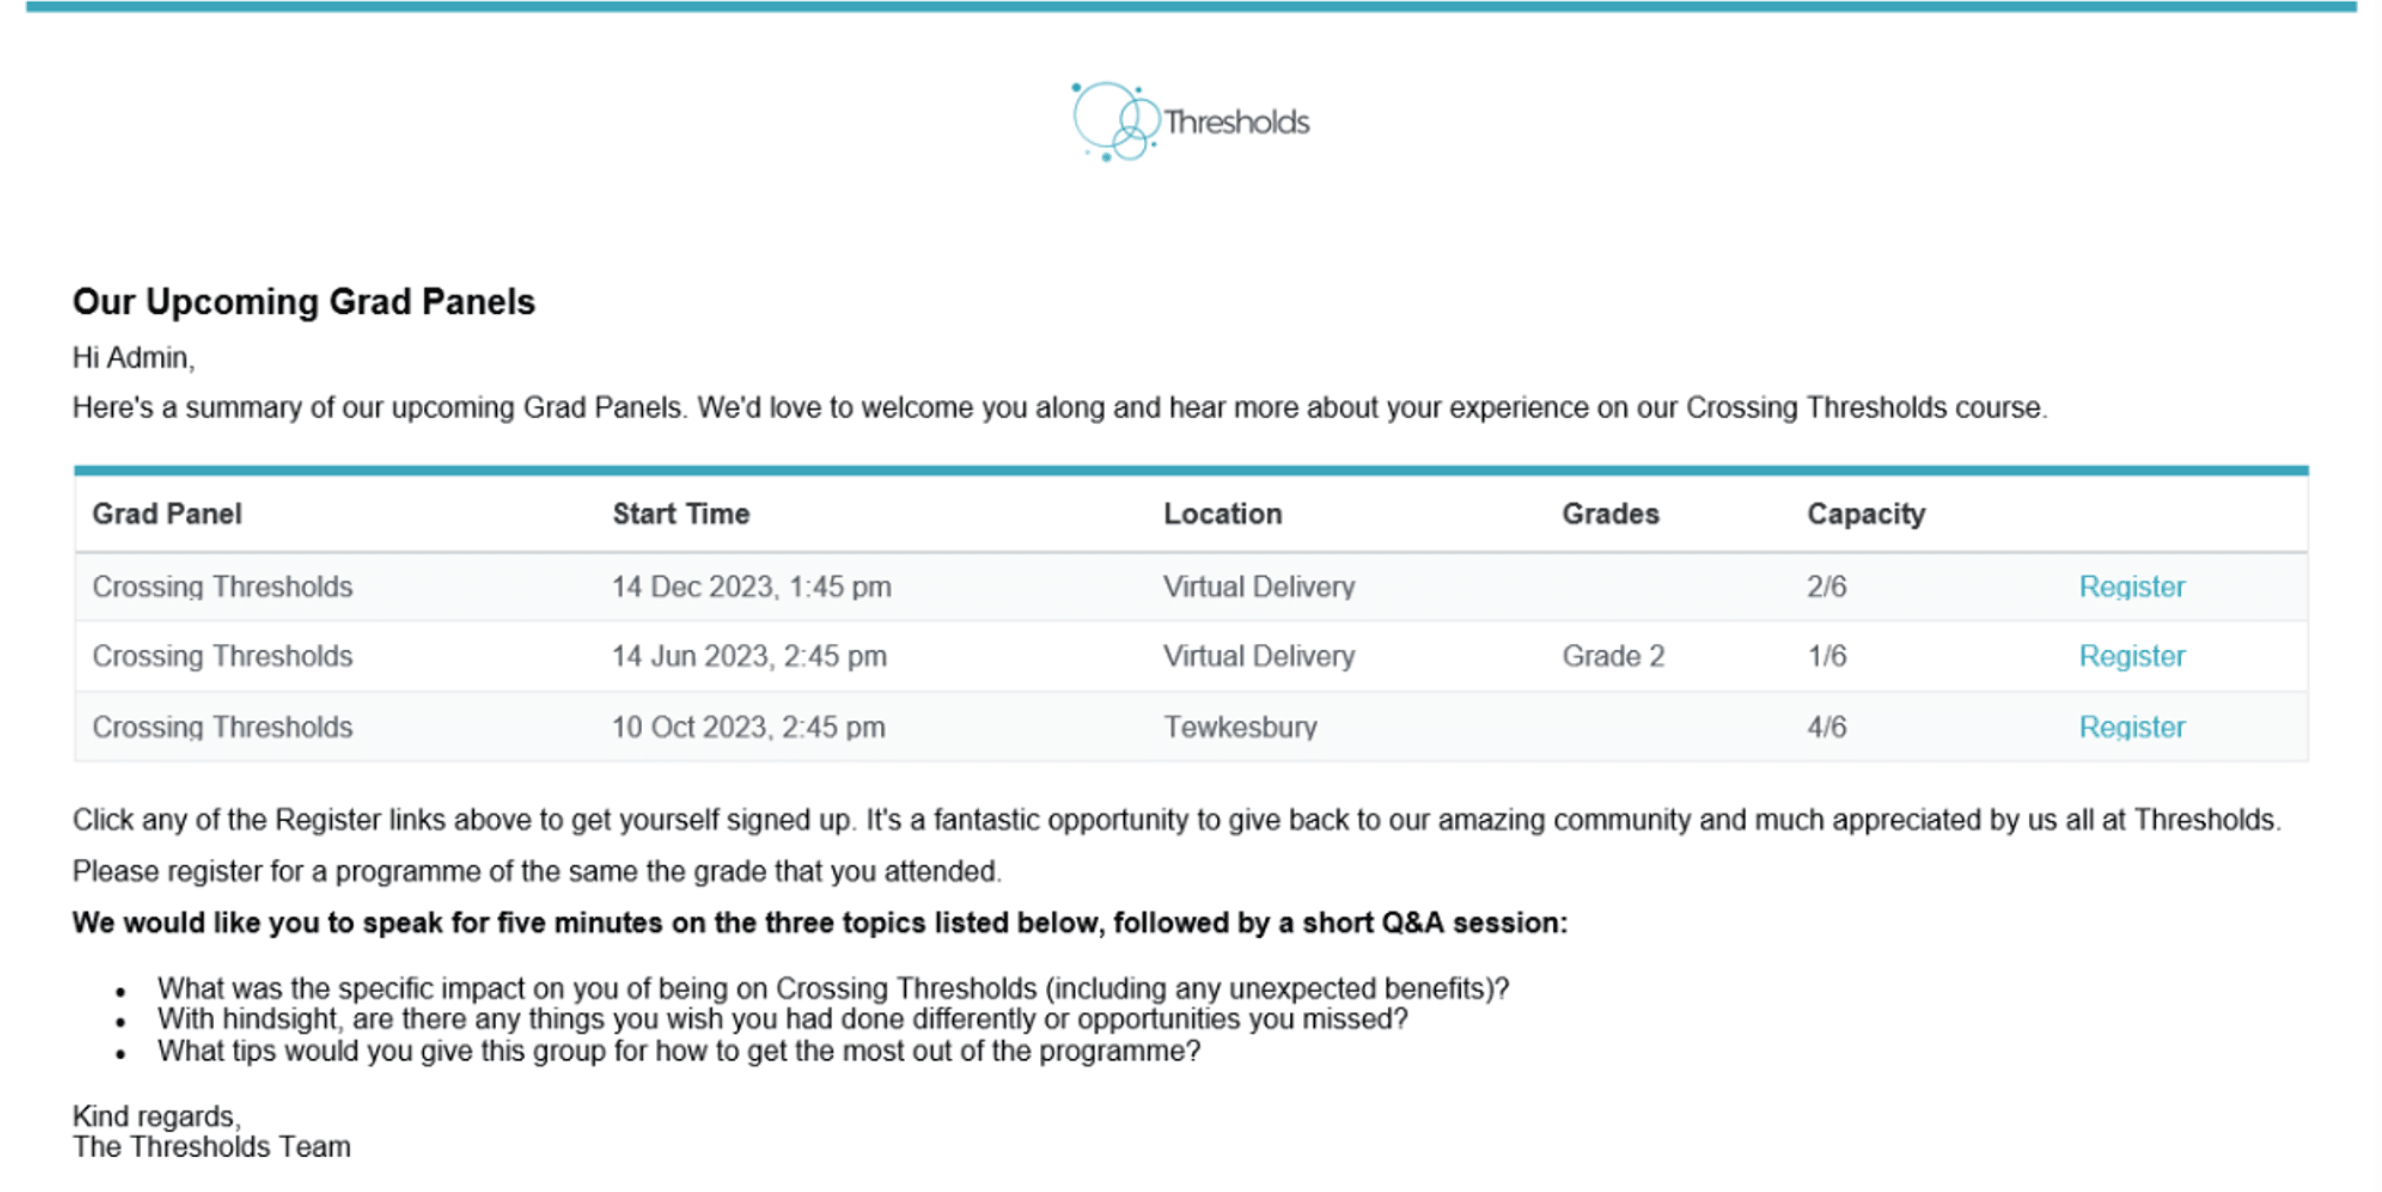
Yes, that’s right, I’m talking tables again. This time, however, I'm actually talking about the tables themselves.
Tables normally include borders, padding and background colour. Adjusting these to taste can be somewhat of a trial and error process — I found myself making heavy use of Litmus to get this example looking just right:
| Before 👎 | After 👍 | :-----------:|:-----------: 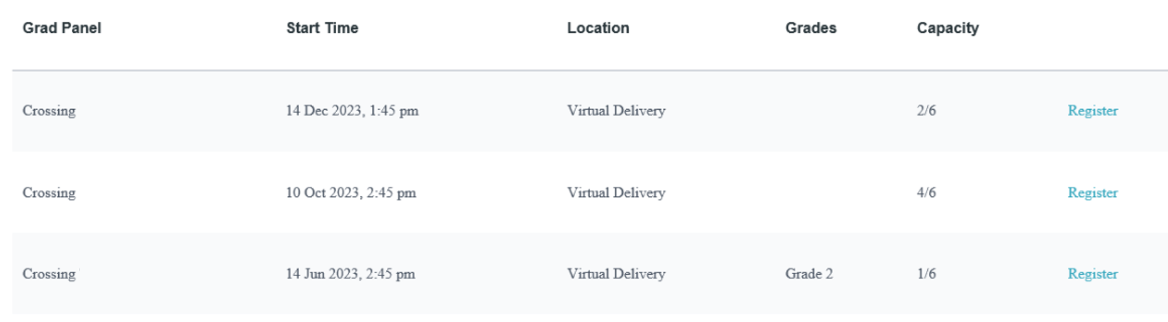 |
| 
Some changes I made to get the 'After' result:
- The
tag had a top and bottom margin on it by default. This causes the weird spacing inside the table. To rectify this, I changed the margins to be set on the elements before and after thetag.
- The border set on the
tag wasn’t showing, so instead I styled the borders on thetags.- As described in tip #3, I made sure to set the font on the last table element.
⚡ Conclusion
It can take quite some time to get your emails looking just right across different email clients. In this example, I generated more than 500 screenshots with Litmus! In the end though, it’s worth the time investment, as you’ll be delivering your customers a polished experience.
- The border set on the
- HTML
- CSS
- Email Templates
- Design
- Coding